Render Data From ParaView in Blender
Blender is, for those of you who never head of it, a powerful open source software used for animations, VFX, 3D design, etc. In this short tutorial I’m going to show how you can import scientific data (in my case a snapshot of a fluid simulation) into Blender and then how to render it with the powerful “Cycles Render”. The idea here is to create the geometry you are interested on displaying and then import it in Blender so you can then apply shaders, materials, textures, etc. Just a quick disclaimer: by NO MEANS I’m an expert in Blender and I’m still learning a lot about it. A quick disclaimer: this tutorial was made before Blender 2.8, which has a different user interface. However everything that you will see below can be done in more recent versions, you will just need to find where buttons are.
First of all, you need a way to open your data in its original format. For this, I use ParaView which is also an open source software. Keep in mind that you can use other softwares such as VisIt or Tecplot, as long as they have the capability of exporting scenes in x3d format (I wasn’t able to do that properly with Tecplot). There are plenty of tutorials on how to use these softwares so I’m not going to enter into the tiny details about it, since everyone will have different kinds of data anyway.
All the steps of this tutorial can be scripted. Here you can find the python script I used to generate the images of the video at the bottom of this page.
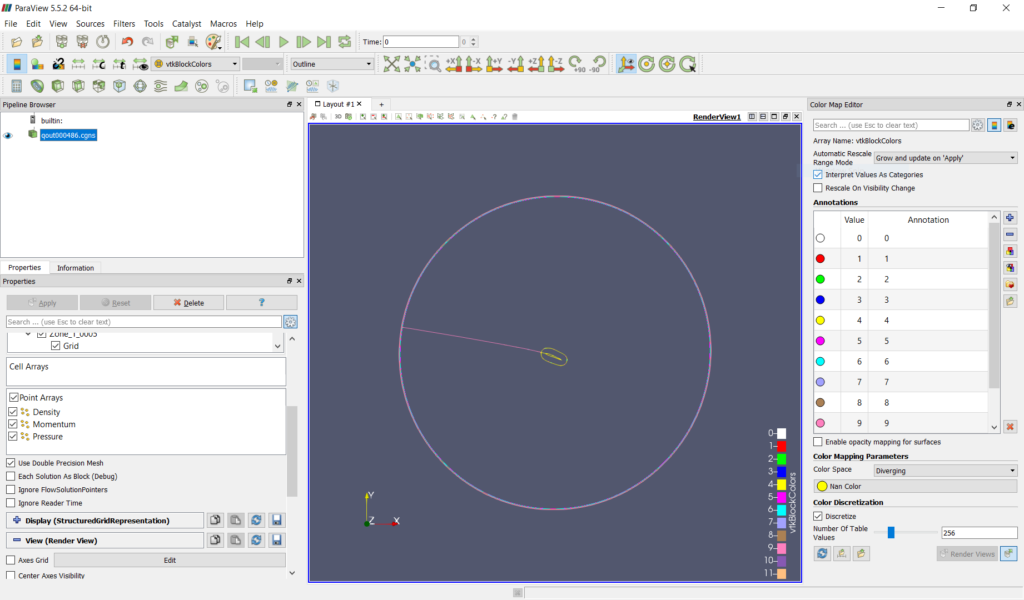
I’m interested in rendering a snapshot of a simulation showing q-criterion colored by Pressure. To do this, I load my data in ParaView and end up in the state shown below.
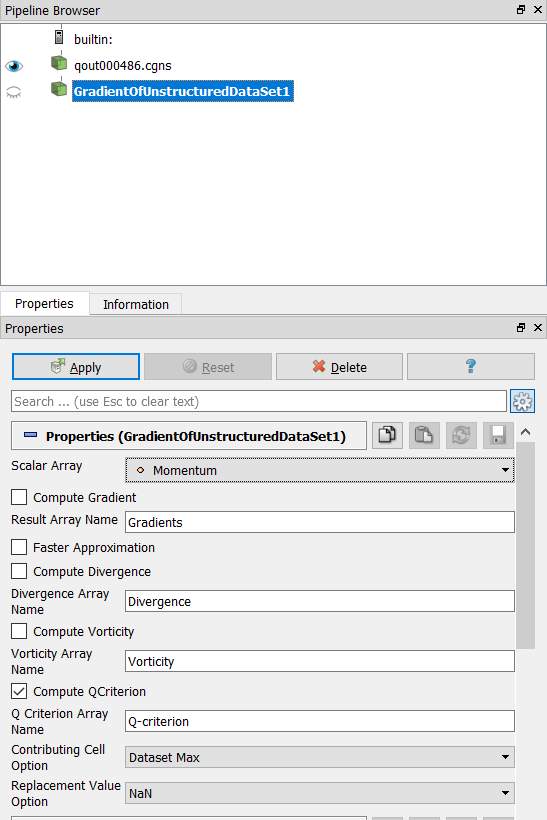
To calculate Q-Criterion, I click on “Filters”, “Alphabetical” and “Gradient Of Unstructured DataSet” (be sure to have the little gear symbol located in the “Properties” tab enabled) and fill the fields as shown below.
I then apply a “Contour” filter, and set “Contour By” with “Q-criterion” and color it with Pressure. I then choose a colormap of my liking and then end up with something like this
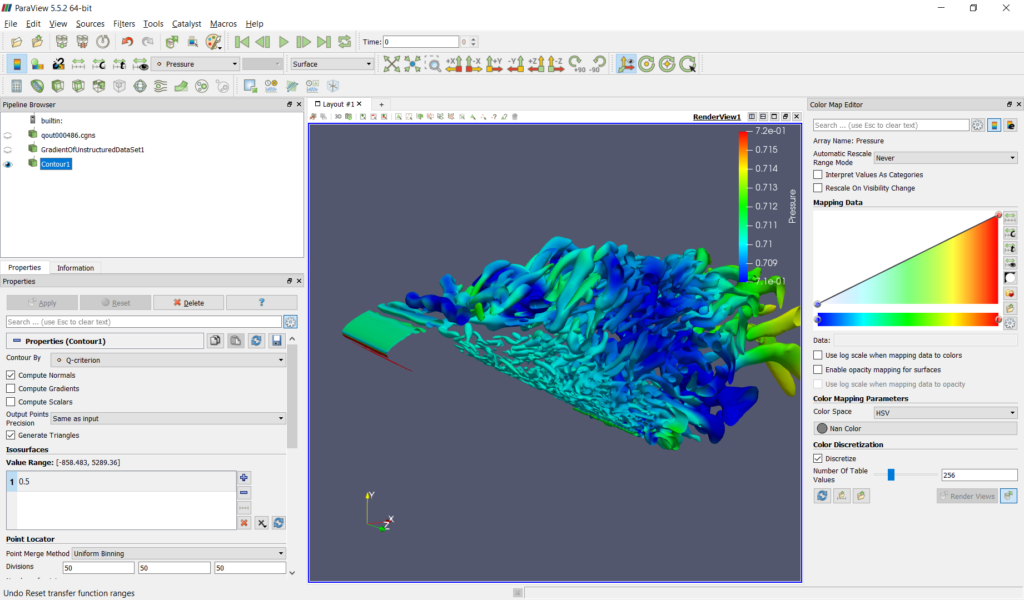
This is exactly what I want to render later in Blender, good old fluid macaroni. I can export this surface by clicking in “File”, “Export Scene”, choose file type as “X3D Files”, call it “qcriterion.x3d” and click “OK”. But wait, it’s kind of weird to show q-criterion of an invisible airfoil, so I extract it and hide the q-criterion isocontour.
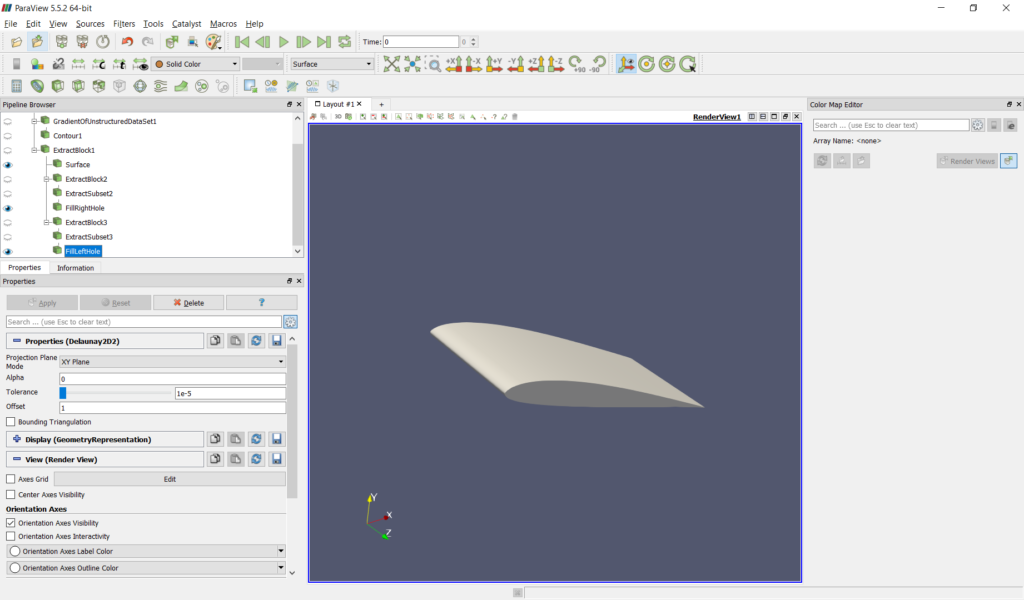
I then export the airfoil surface the same way I did with the q-criterion one. I now have two files called “qcriterion.x3d”and “surface.x3d” that have all the geometry I’m interested in rendering. So I’m ready to finally have fun with Blender (keep in mind that I’ll not dive into details of how to use Blender. I’m just going to show the steps I follow, so it might be a good idea to watch a tutorial on Blender basics to avoid getting frustrated with simple things).
With Blender opened, I delete everything from the default startup scene and then import the “surface.x3d” file. There are a lot of things contained in the “surface.x3d” file besides the airfoil surface itself like ParaView’s camera and some lamps.
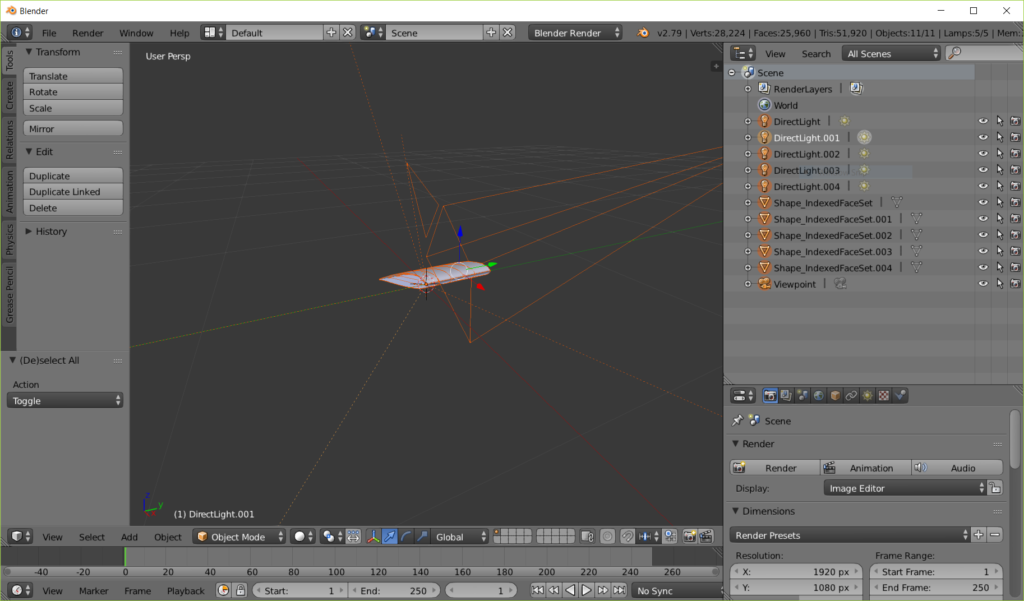
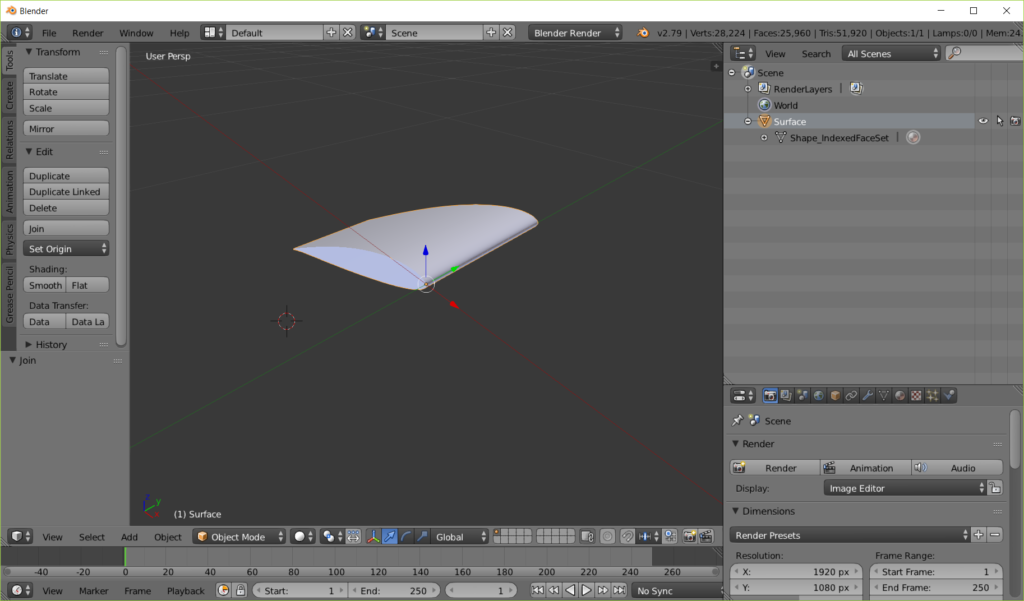
Since I’m only interested in the airfoil surface, I delete everything except for the objects called “Shape_IndexedFaceSet.xxx”. Also, to make things simpler to work with, I select all those meshes and I join them (CTRL+J) into a single one and rename it to “surface”.
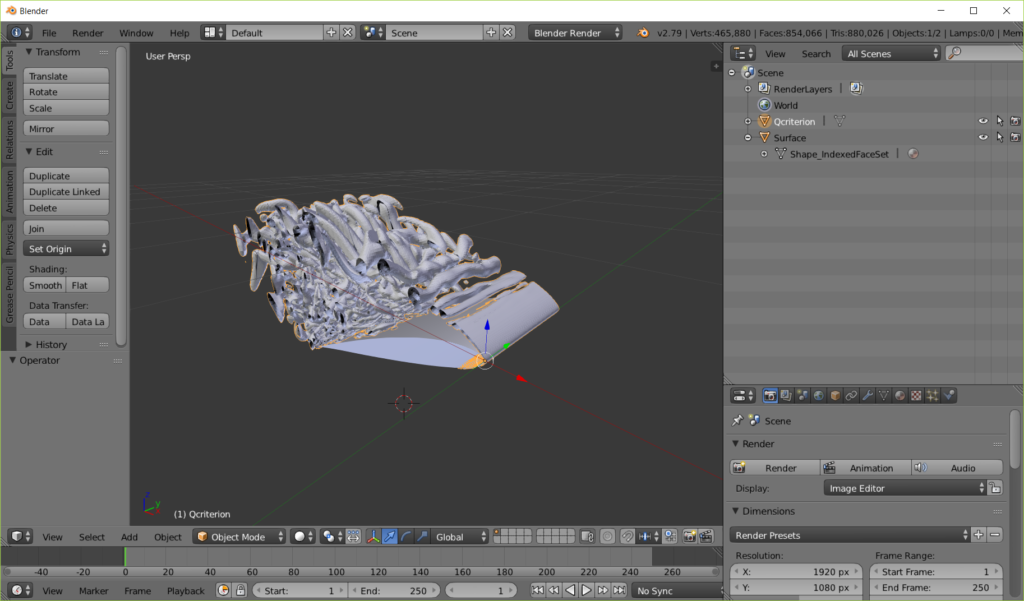
I repeat the exact same steps but know for the “qcriterion.x3d” file and end up with this.
To make sure I can see everything on the scene, I’ll add a “Hemi” lamp and put it right above the airfoil like this

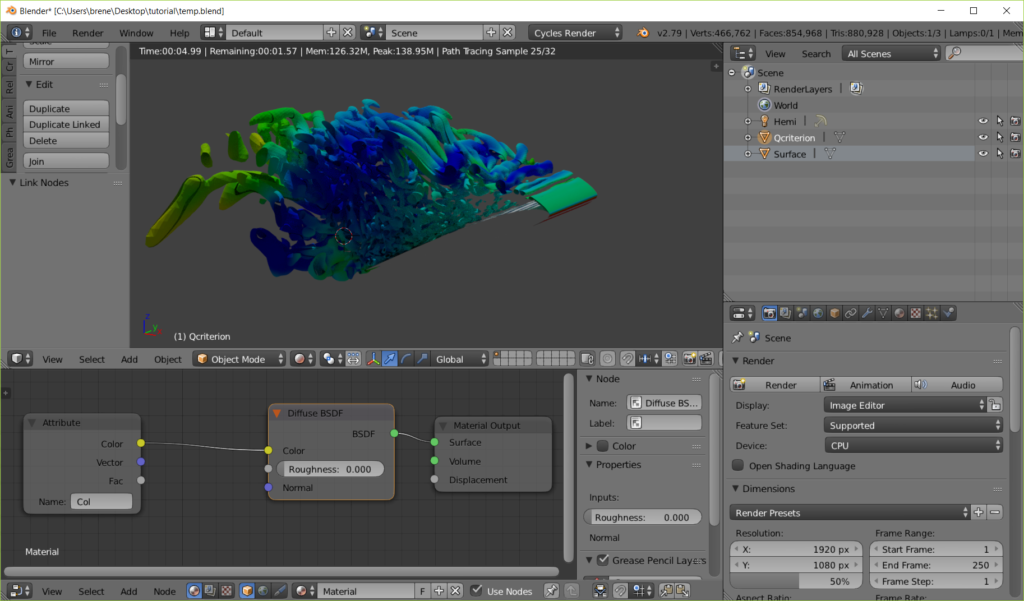
The next step is to add a material to these surfaces. X3d files have color information, so I only need to create a material that gets its color from it (make sure you’re using “Cycles Render” and not the default “Blender Render” from this point and on). I then click on the “Qcriterion” object, go to “Material” tab and click on “Use Nodes” under “Surface” properties. If you open the Node Editor you should see something like this
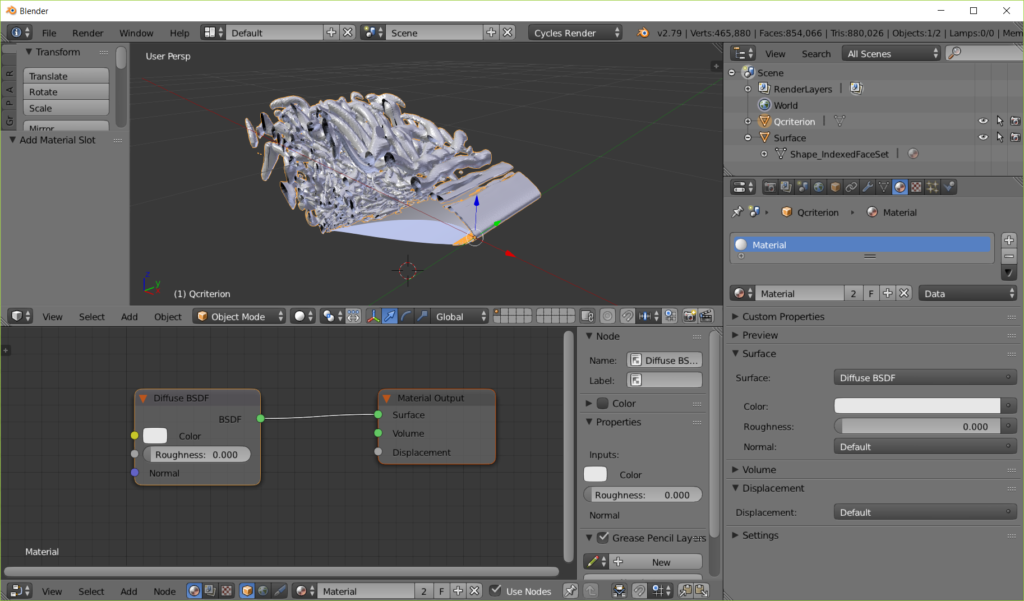
What’s happening here is that Blender is interpreting the q-criterion mesh as a white diffusive material. To change that, I add an “Attribute” node and call it “Col”. By doing this, we are telling Blender to color the material with the information contained in each vertex of the surface. If I switch my viewport shading to “Rendered” I can see that things are starting to look interesting. I suggest you to play with different combinations of shaders to get a more good looking surface. For this tutorial I’m just going to stick with the “Diffuse BSDF” node.
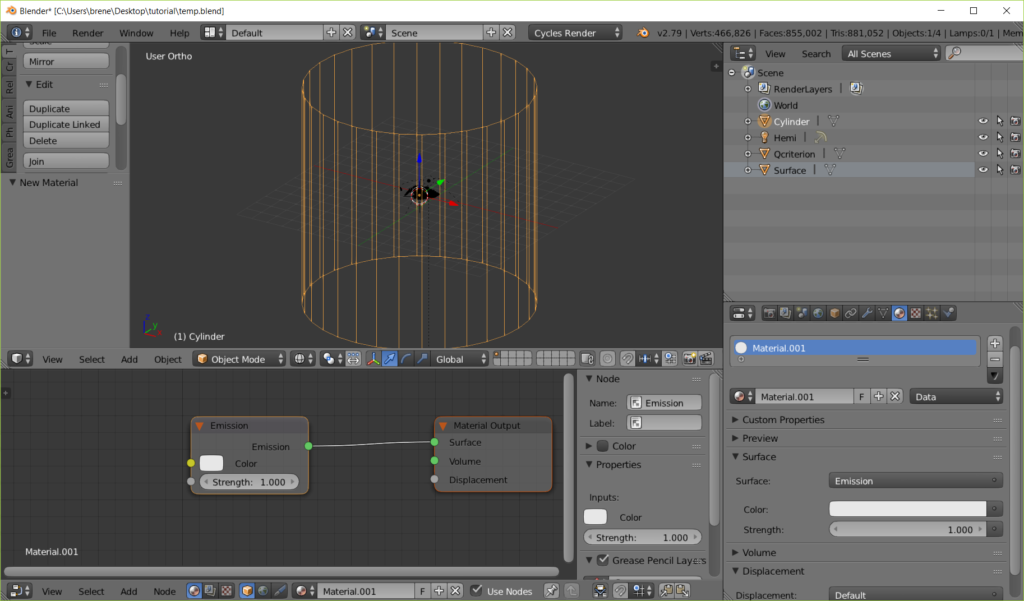
Same can be done for the “Surface” object but since it’s just a boring monochromatic object, I’m just going to change the default color from white to gray. It can be seen that the scene is fairly dark so I like to put a big cylinder surrounding the airfoil with a white emissive material like this:
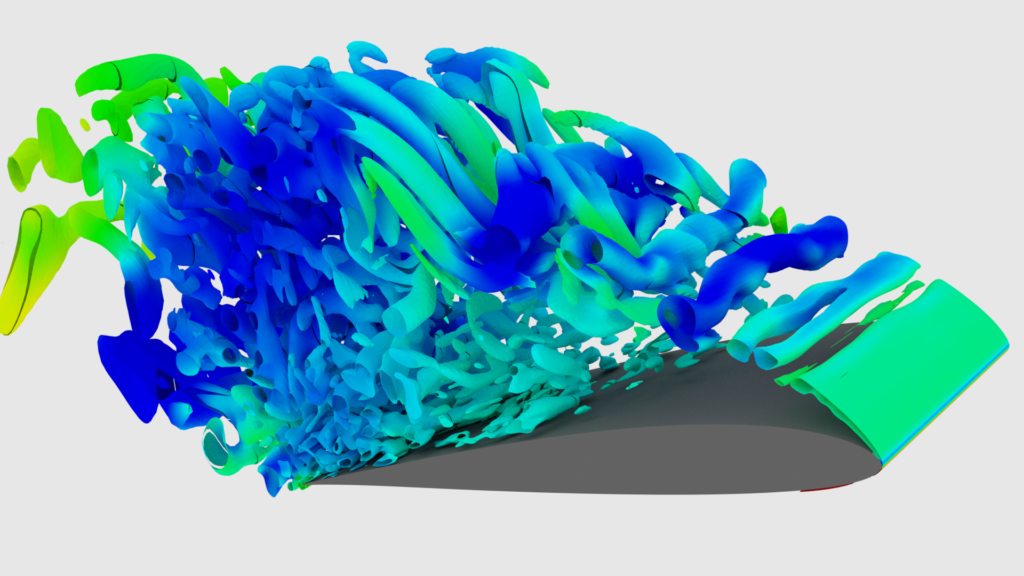
At last, only a camera is missing. Add one, press “0” on the numpad, and with “SHIFT+F” “fly” using “WASDQE” keys until you are in a good position and angle. Then, in the “Properties” editor, go to the “Render” tab and configure the final image properties (make sure to use “GPU Compute” in “Device” on “Render” section if you can). There are plenty of tutorials on how to configure those so I’m just going to render it using the “HDTV 1080p” preset. Click “Render”, wait until the rendering is done and press “F3” to save the image. My final result is this:
If you have any questions feel free to send me a message. Remember that shaders and lighting are super important to get a certain effect. Try different combinations and if you end up with something cool, feel free to share your piece of art. It’s also important to mention that Blender and ParaView have a Python API, so all the steps in this tutorial can be automated. This can be useful because if you have transient data, you can export a x3d file for each snapshot and then import it in Blender and render it, one at a time. You end up with a bunch of images that can be used as frames for a video like the one below.