In another post I explained in detail how to render data from Paraview in Blender. The process consists of creating the visualization you are interested in with Paraview, export it as a x3d file and render it with Blender. This process can be automated with scripts, which will make it possible to create videos such as the one below. All the scripts used in this tutorial are available in the link above.
Create x3d files
The first step consists of creating the x3d files with Paraview that contain the geometry which will be imported in Blender. Open the data you are interested in with Paraview and apply all the necessary filters for your use case. If you are interested in creating multiple snapshots, make sure to select all of them when creating the filter pipeline. I am using data kindly provided from here in this tutorial.
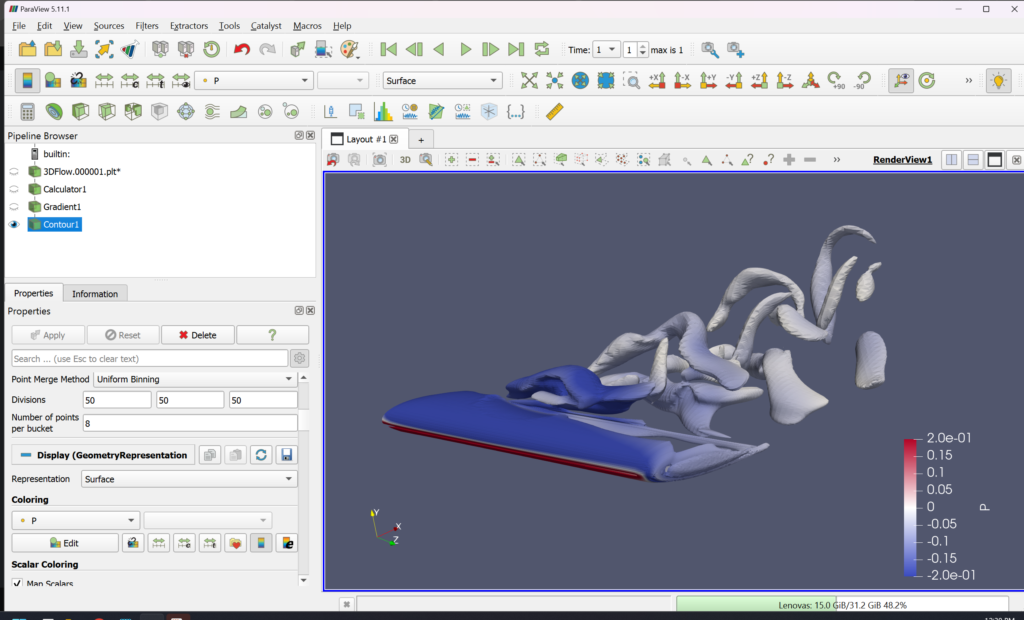
Run the script “export_x3d_paraview.py” (Tools > Python Script Editor > File > Run) to export all frames of the data as x3d files. Make sure that output_path contains a valid path (this is where the x3d files will be stored).
Render the scene with blender
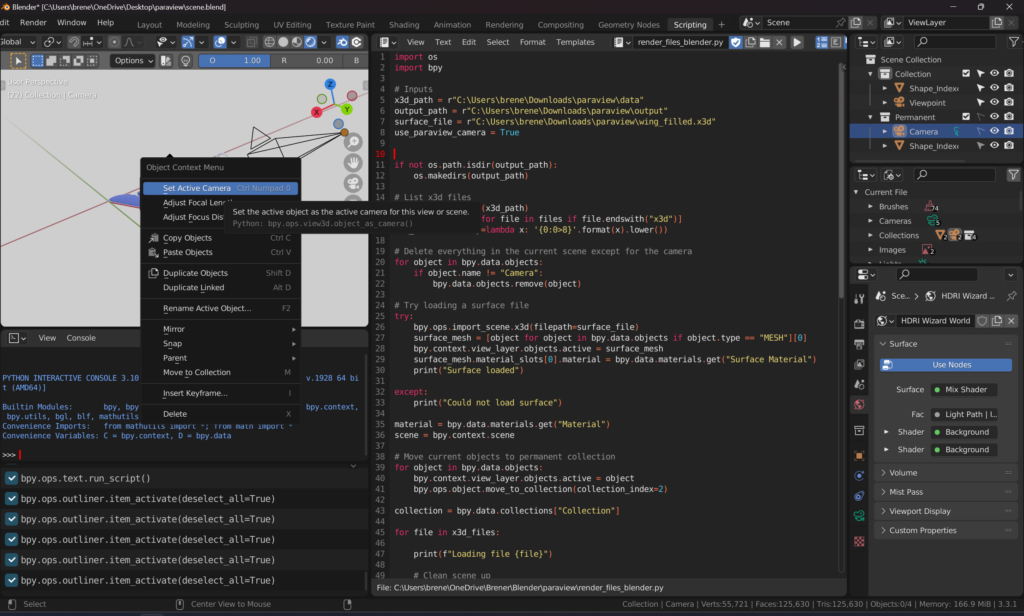
In order to make things simpler, I created a “scene.blend” with the most important settings in Blender already set. Just open it and you will see the screen below.
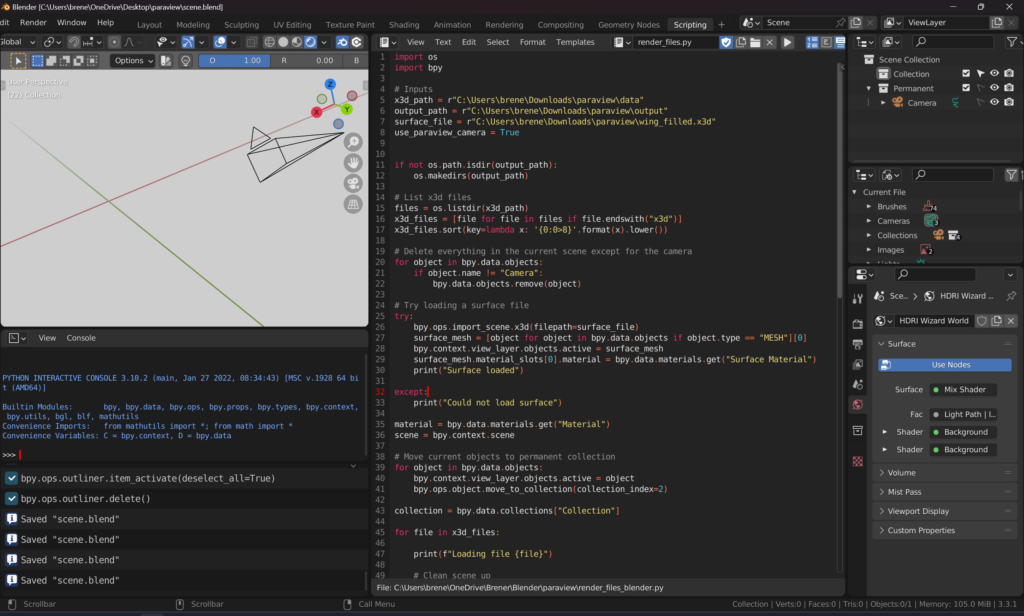
Before running this script you need to specify the folder that contains the x3d files (x3d_path), the output folder (output_path), the path to a surface file (surface_file) and if the camera from Paraview should be used (use_paraview_camera). The path to a surface file is optional and this file should be in the x3d format.
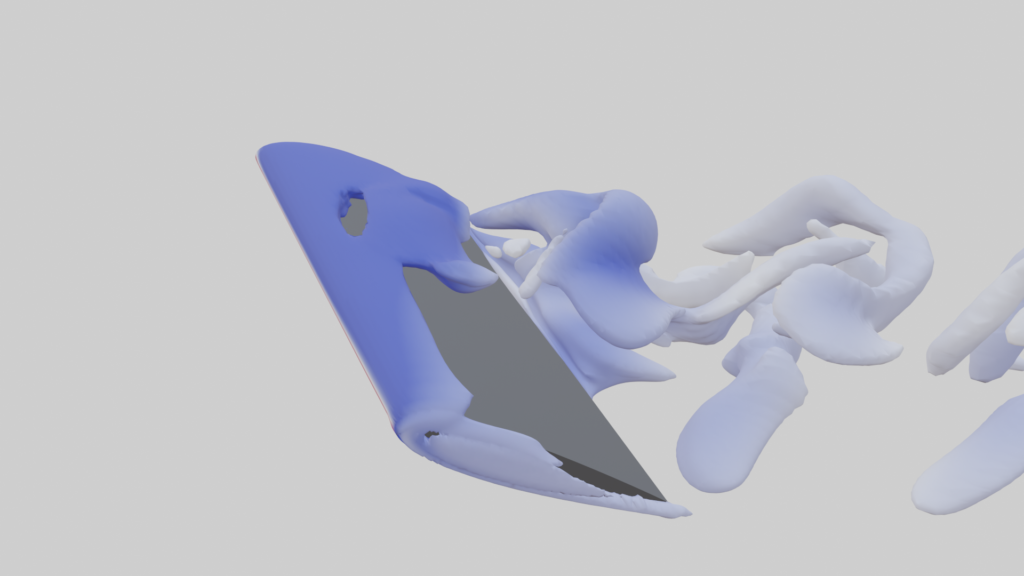
Just run the script by pressing “Alt + P” or clicking the play icon in the upper right corner of the screen. The output folder should now contain png images corresponding to each x3d file. Using the example data yields the image below.
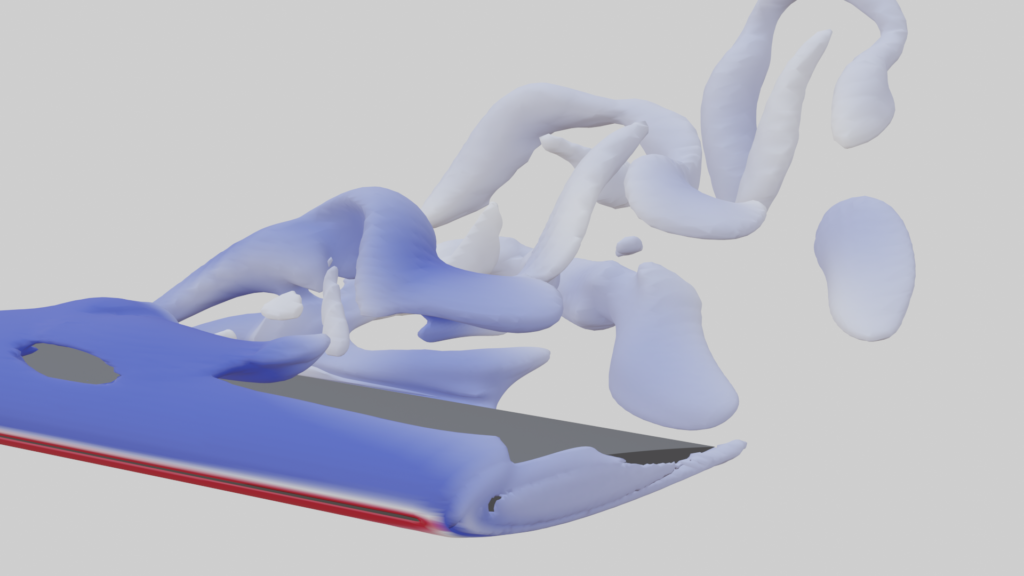
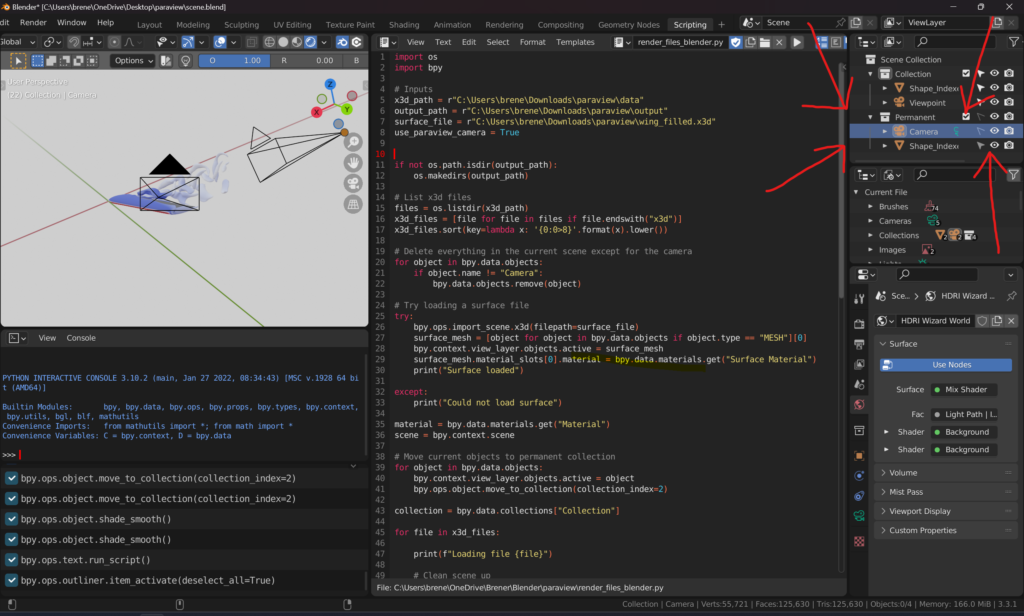
As you can see, the framing is not very good. Instead of generating all x3d files again with a different camera angle in Paraview, we can instead adjust the camera in Blender. To do so, click on the “Camera” object in the right upper corner and then click with the second mouse button in the 3D Viewport and set this camera as the active one. You can then set this camera to wherever you want (there are plenty of tutorials in the internet showing how to adjust a camera in Blender). Finally, be sure to also change the use_paraview_camera variable to False. The final render can be seen below.
Create video
If you would like to create a video from the rendered images, you can easily do so with ffmpeg. Open a terminal in the folder containing the snapshots and run the command
ffmpeg -start_number 0 -framerate 30 -i %06d.png -pix_fmt yuv420p -q:v 3 -vf scale=iw:-2 video.mp4
Tip: make sure that ffmpeg is in your PATH variable (Windows or Linux). Otherwise you can simply download a compiled version and put it in the folder containing the images.